Source Control Overview:
What is source control?
Source control is a program that allows for you to have a version history for a project, among other things. Git is the most popular form of Source Control. Github is a desktop / website that allows for easier graphical usage of version control. By using version control you can roll back to a working piece of code, work with others, and organize releases of code.
Vocabulary - 

Note: Some terms are missing from this list, such as fork, pull request, and other more complicated things. This is mostly because I don’t want to explain them / don’t know how to use them. Feel free to add them yourself, that is the intent of this website. 
- Organization - A shared Github workspace for a team. It can own repositories, teams, and have custom permissions for users. Ask a qualified programmer to add you as a member of the DHRA-2131 Github.
- Remote - A linked copy of your repository hosted somewhere else. This is usually Github. The default remote is often named
origin. A repository can be public for everyone to see, or private. Only members with select permissions can write to a repository. - Repository - The project folder tracked by Git. It stores your current files, commit history, and branches. Example: https://github.com/DHRA-2131/2024-25-2131H
- Branch - A separate line of development inside a repository. Use branches to test changes without breaking the main code. Example: You might have a
devbranch for code in development and astablebranch for another coder to code autonomous routes with. - Commit - A saved checkpoint of your changes. Each commit should have a short message explaining what changed. Note: Commits can be local, make sure to push commits to the remote for everyone (with permissions) to see them.
- Push - Upload your local commits to the remote repository. This sends your work to Github where it can be access by others.
- Pull - Download new changes from the remote repository to your computer. This updates your local files to match the branch you pulled from.
- Clone - Make a full local copy of a remote repository. This is usually the first Git command you run on a new project.
git clone <url>in a directory to copy the repository. - Stage - Mark specific file changes to be included in the next commit.
- Merge - Combine changes from one branch into another branch. This is how finished work gets added back into
main.
Prerequisites:
- Git is installed. This was covered here.
- You have a Github account, sign up here. Please do not use your school email, you will lose access to code that you might want to reference later when you graduate.
- (Suggested) Be added to the DHRA-2131 Organization. Multiple generations of code is hosted there that you can reference.
What is Github?
Github is a website that hosts a remote that you can write to. It also allows for you to manage authors and change visibility of your repository. Transfering ownership and other important features must be done on the Github Website.
Method 1: Using the in-built Github integration in VSCode
Note: cloning code from a preexisting repository on Github should probably be done by using the other two methods. If you already have code and want to create a new repository you can continue here.
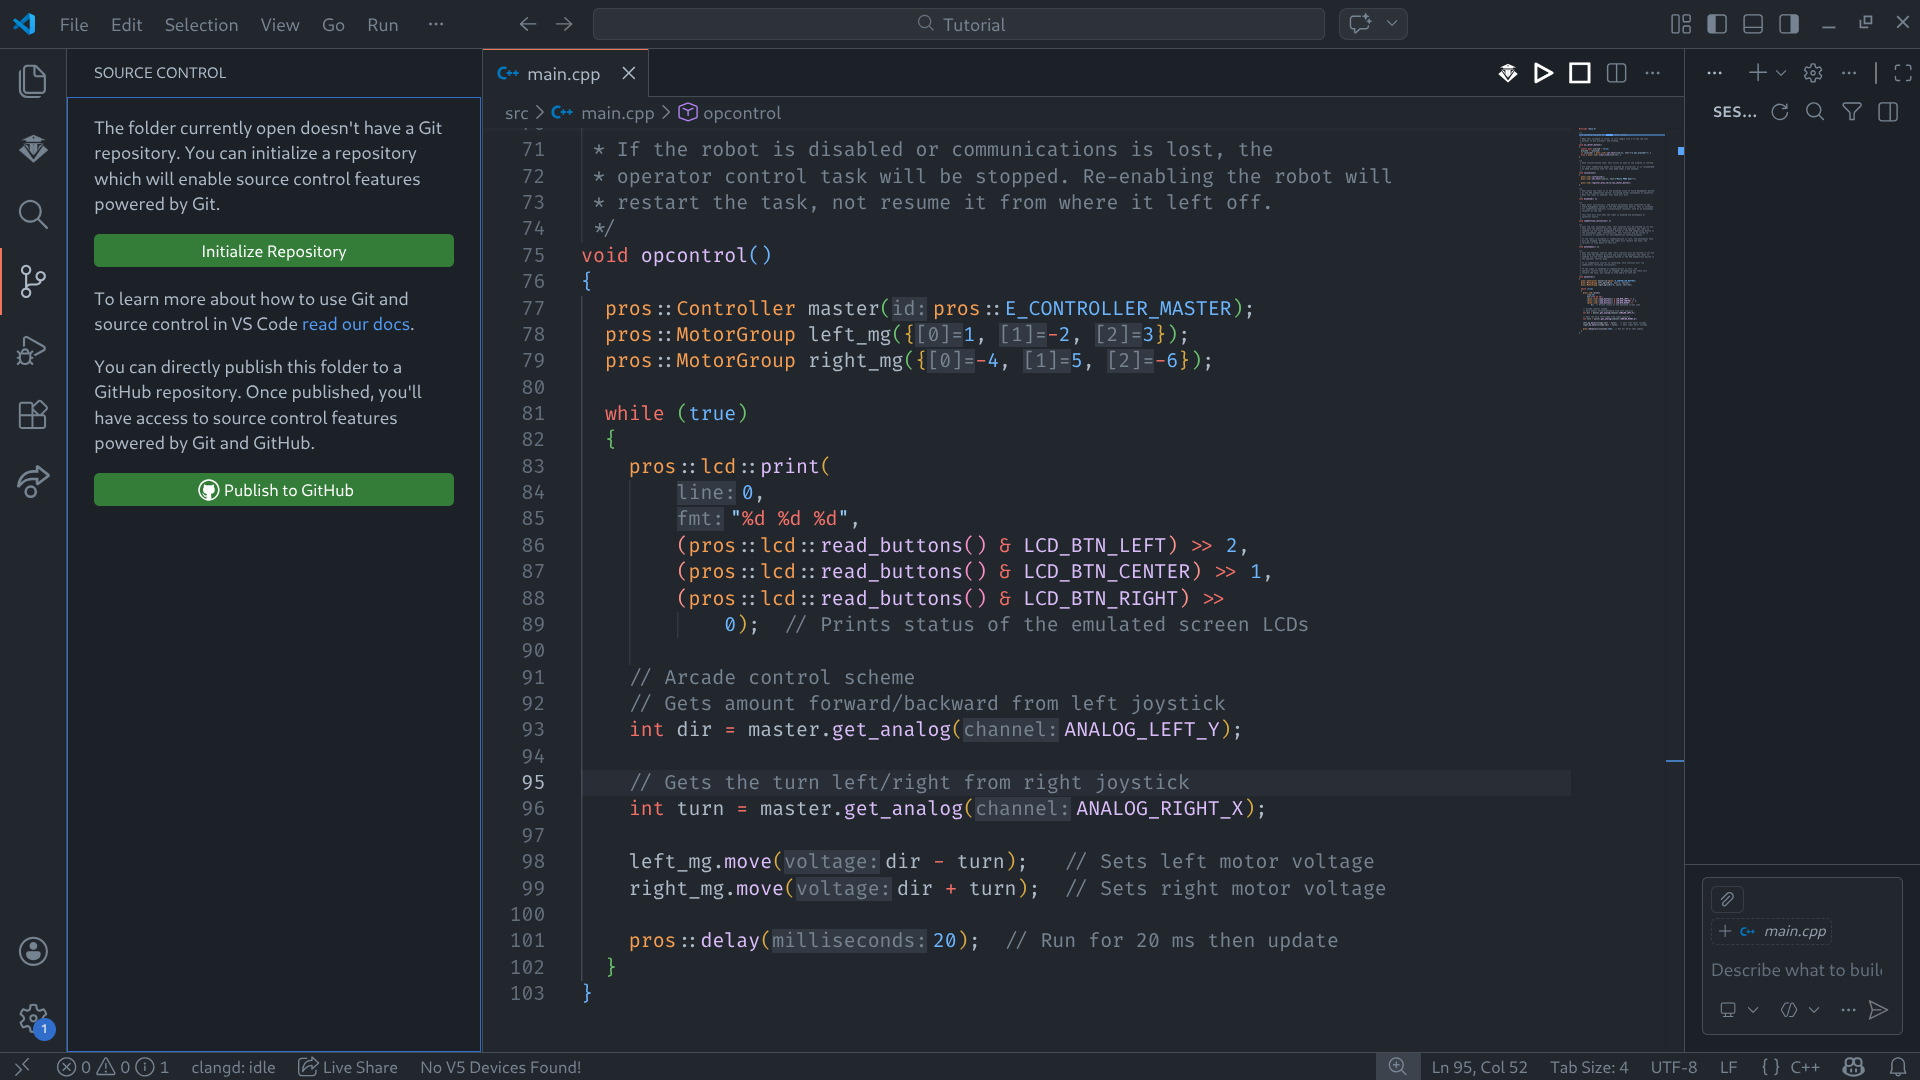
Publishing Code to Github Repository
- Access the source control panel in VSCode. You can use
ctrl + shift + gto open source control. Alternatively, you can access the source code panel by clicking on the icon located in the left ribbon (Icon: ).
). - Click the Publish to GitHub Button. This will prompt you to publish either a public or private repository of your naming to your account. Note: Using this method will upload to your account, requiring you to transfer ownership of your repository to DHRA-2131 if you want to include the repository as part of the club’s organization.
Stage Changes and Commit
Upon Changing a file, it will be listed in the changes section. To Stage a file’s changes, hover over the file and click the plus (+). This will add that file to the staged changes. You can also hover over Changes to stage all your changes at once.
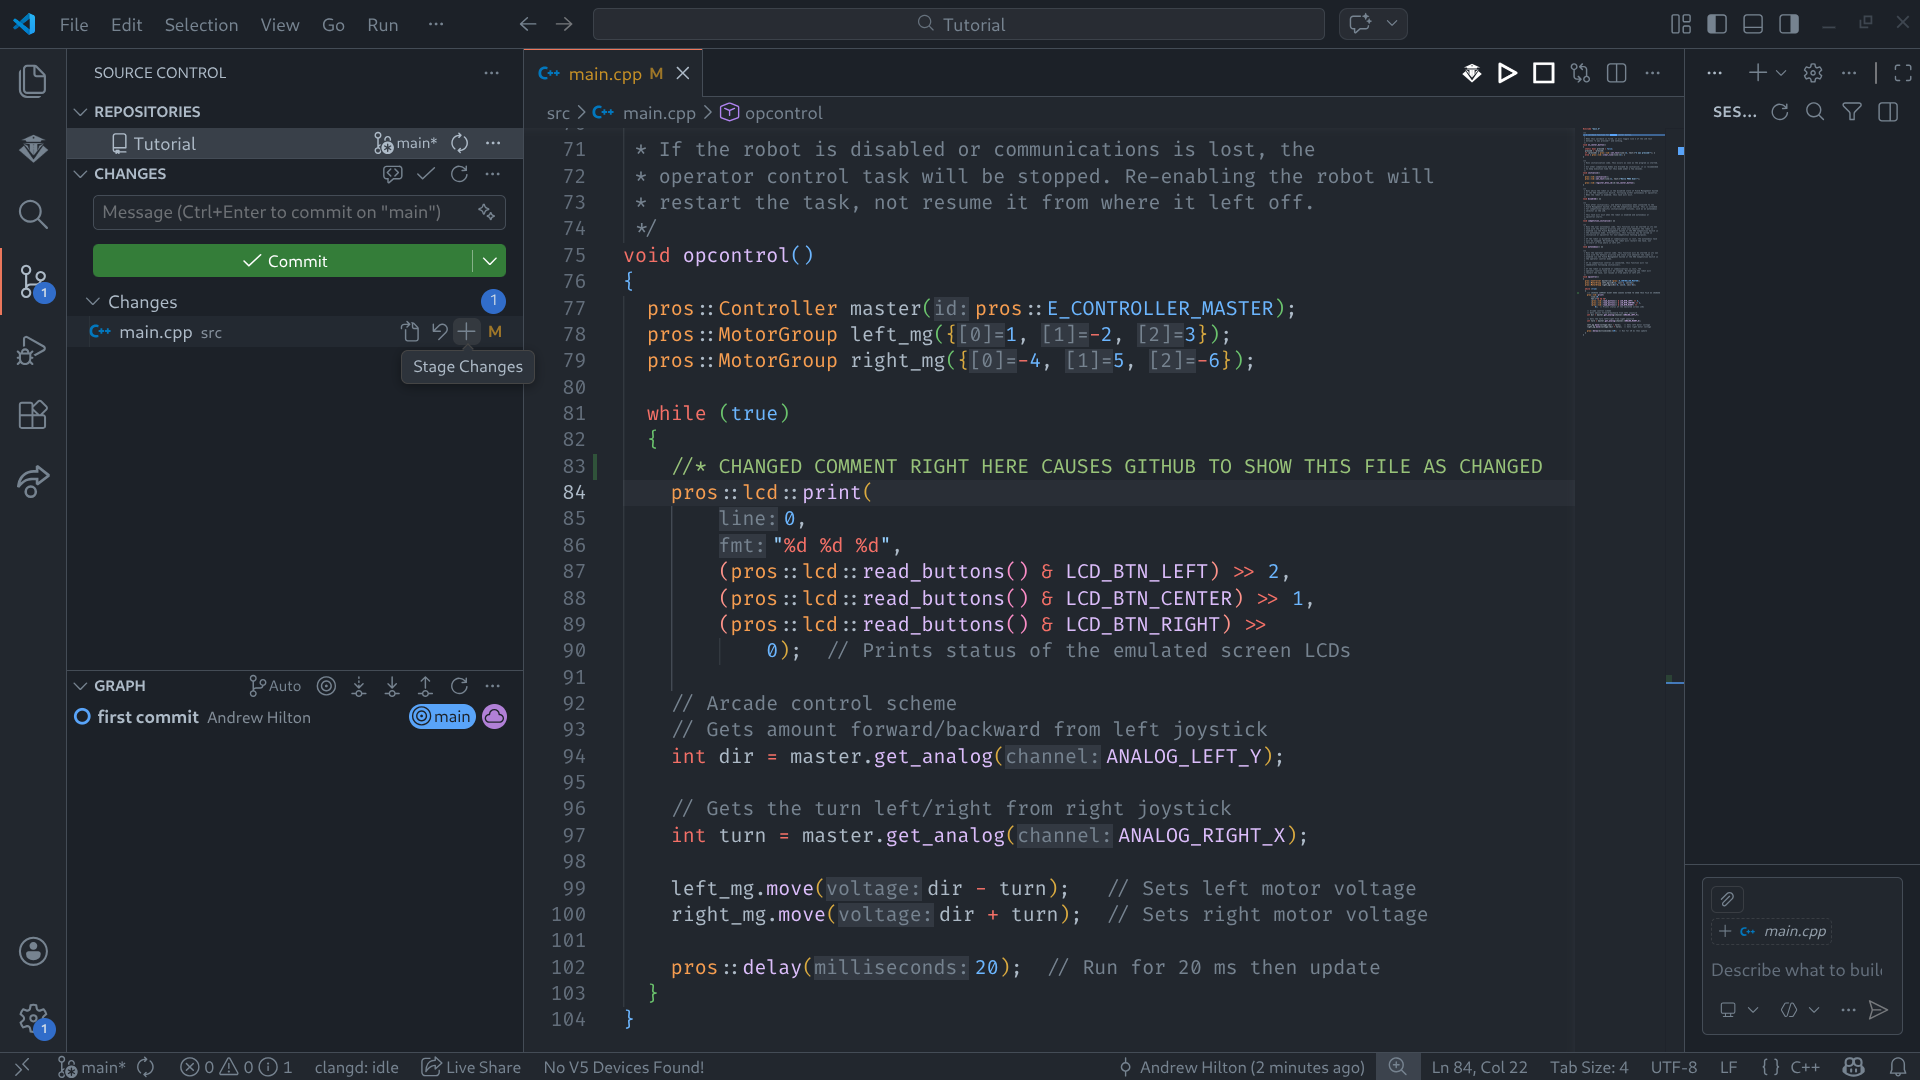
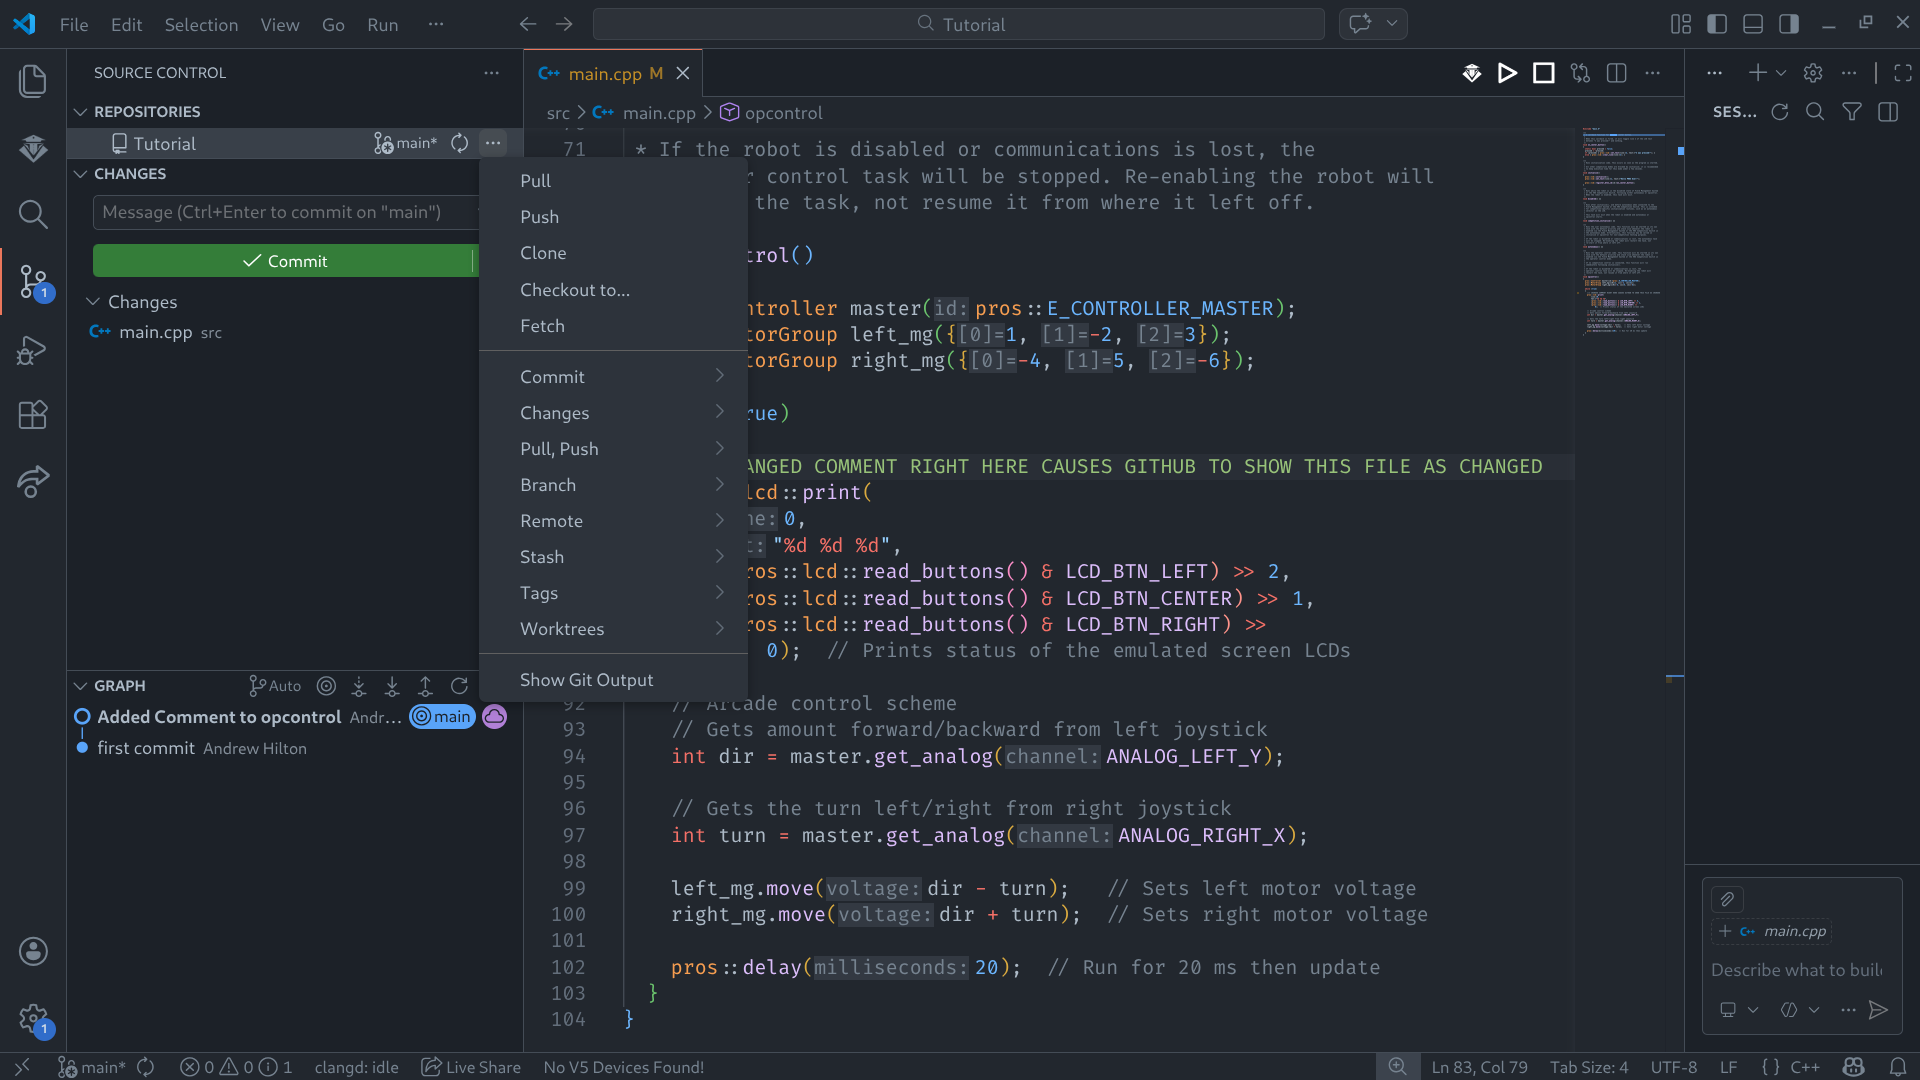
Note: If your source control panel doesn’t look like mine, click the three dots (...) across from SOURCE CONTROL, then make sure there is a check by all three options. If there isn’t click the option to show it.
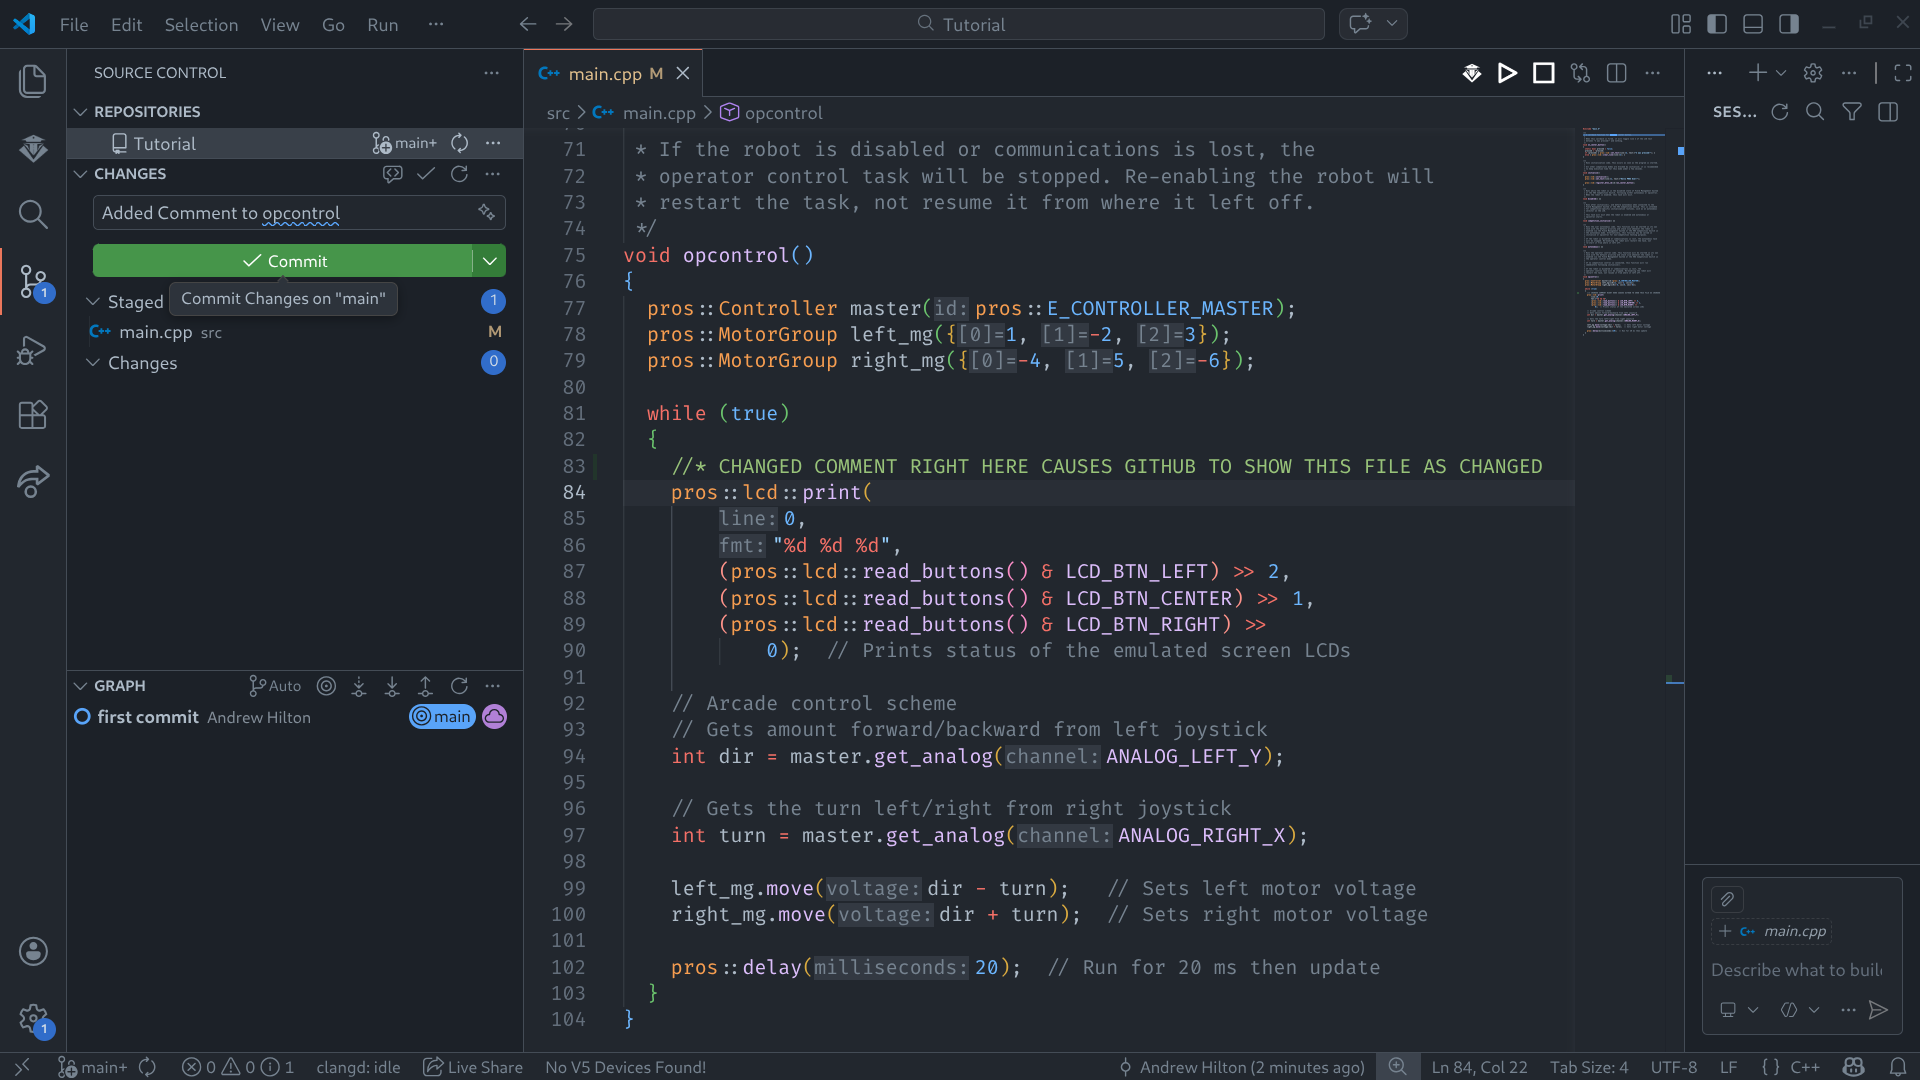
To write your changes to a commit, type a commit message in the text box and press the “ Commit” Button. Notice this doesn’t push your code to the remote (
origin/main) but makes a local (main) version history change that you can go back to if you break something.
Push, Pull, and Synchronize Changes
If you have just written a commit, you can press the ” Sync Changes” button. This will push your commit to the remote on Github. If you write a change after making a commit you will not be able to Sync until you get rid of all changes by discarding or adding them to a new commit. Notice this updates
 main to be the same as origin/main.
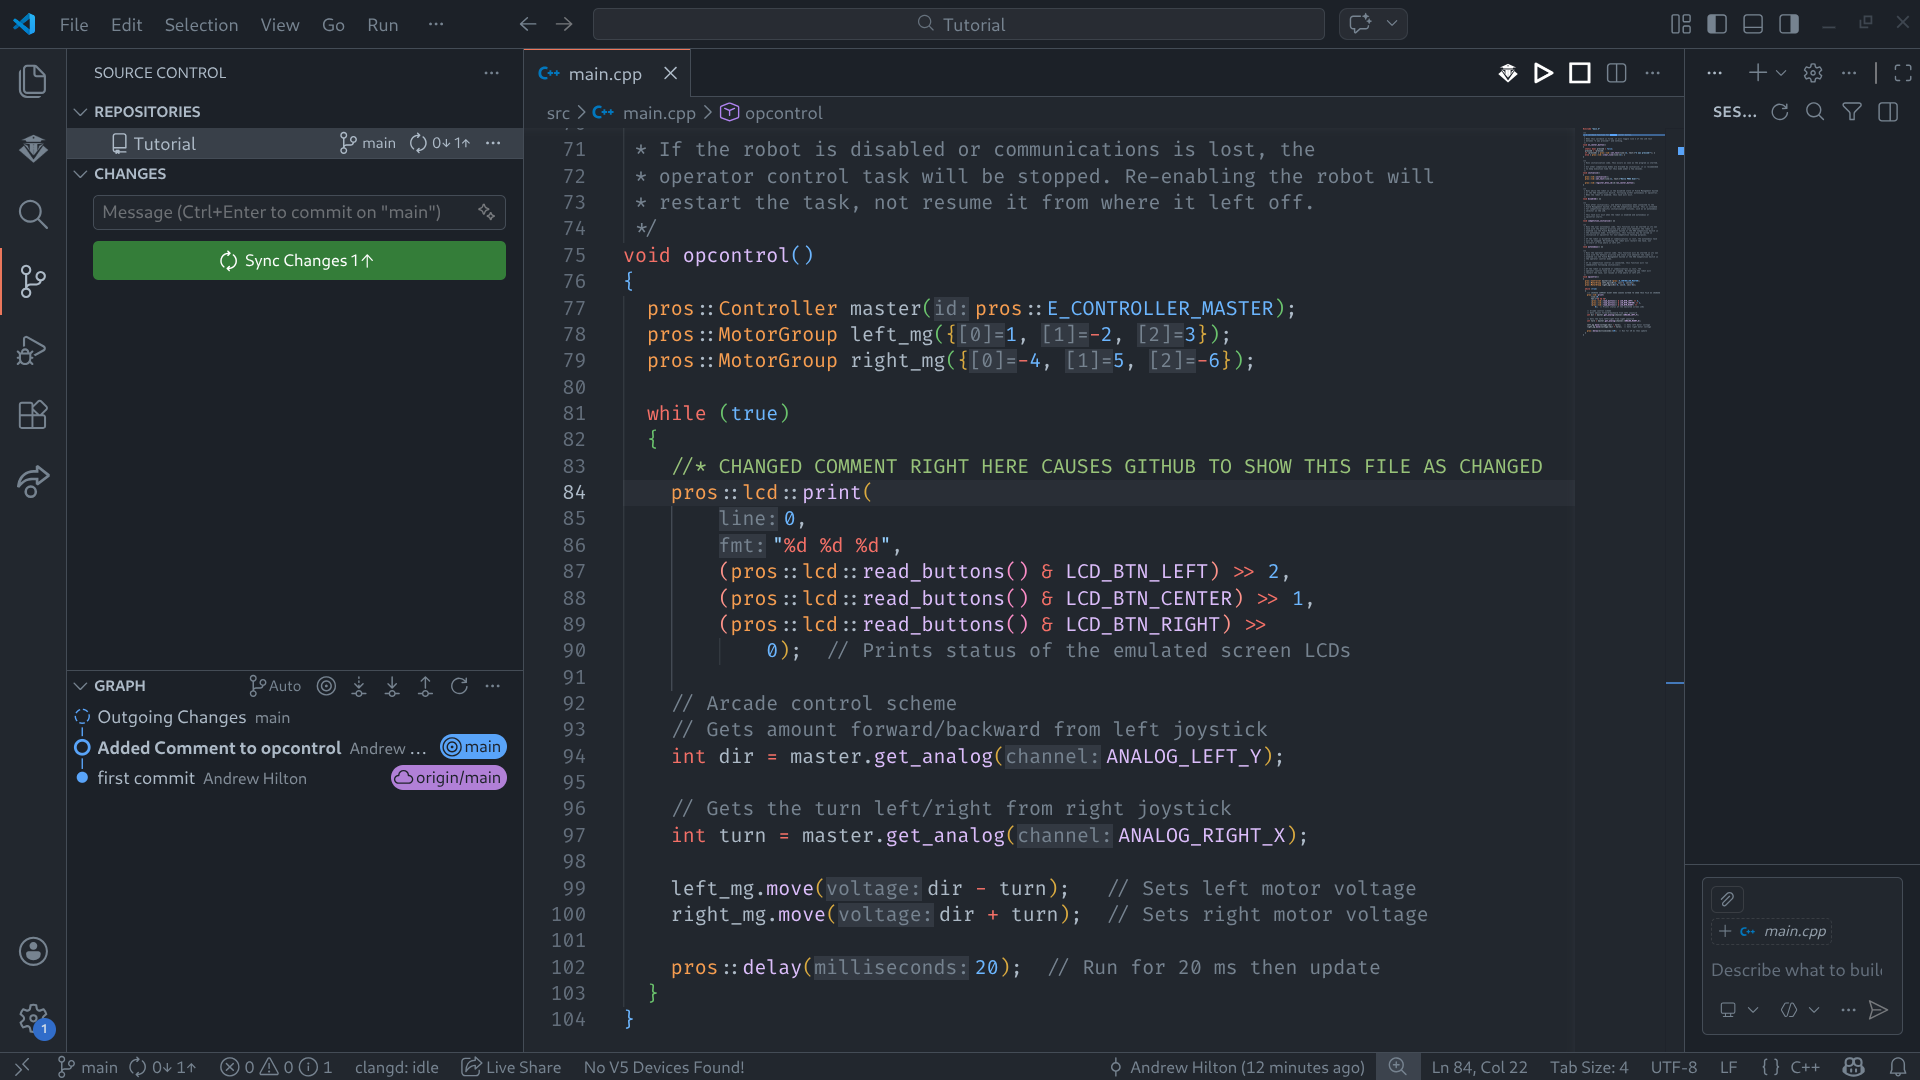
If you don’t want to push and pull at the same time, then click the three dots by your repository name to find more options. Fetch will check if the remote (Github) has any new changes. It will not edit the local instance or the remote.
Method 2: Using Git in a Terminal
This method is faster once you know a few commands. It is also the most reliable way to see exactly what Git is doing.
Note: This was written by AI and only skimmed over. You can access a git tutorial by W3 Schools here.
Open a Terminal in Your Project Folder
In VSCode, open a terminal with ctrl + shift + `. Make sure the terminal is inside your project folder before running commands. You can use pwd on Linux or macOS if you want to check your current folder. Use dir on Windows or ls on Linux or macOS to list files inside the current directory. Use cd <filepath> (on most Operating Systems) to change directory to the current folder / project.
Note: On most operating systems a relative file path omits the first forwards slash: include/pros. An absolute path will start with a forwards slash: /home/andrew/Code/Robotics/. Linux operating systems will use ~/ to refer to the home directory.
Clone an Existing Repository
If the repository already exists on Github, clone it instead of making a new one by hand.
git clone <repository-url>cd <repository-folder>Example:
git clone https://github.com/DHRA-2131/2024-25-2131H.gitcd 2024-25-2131HCheck What Changed
Before you commit, check what Git sees.
git statusThe output shows:
- modified files
- new untracked files
- staged files
- your current branch
If you want a short history of commits, use:
git log --onelineStage Files
Stage the files you want in your next commit.
git add <file>To stage everything:
git add .To unstage a file:
git restore --staged <file>Run git status again after staging to verify the correct files are included.
Commit Your Changes
Write a short commit message that says what changed.
git commit -m <description>Good commit messages:
git commit -m "added drive constants"git commit -m "fixed auton selector bug"git commit -m "refactored intake control"
Pull Before You Push
Always pull first if other people might have changed the repository.
git pullThis downloads and merges new remote changes into your local branch. If Git reports a merge conflict, fix the conflicting files, then stage and commit the resolved version.
Push Your Commit to Github
Once your commit is ready, upload it to the remote.
git pushIf your branch does not have an upstream yet, Git may tell you to use:
git push -u origin mainNote: Your default branch might be named main, but some older repositories may use a different branch name.
Basic Daily Workflow
For most normal coding sessions, this is the usual order:
git pullgit statusgit add .git commit -m "your message here"git pushRelevant Commands
git clone <url>- copy a remote repository to your computergit status- show changed, staged, and untracked filesgit add <file>- stage one filegit add .- stage all current changesgit restore --staged <file>- unstage a filegit commit -m "message"- create a local commitgit pull- get new remote changesgit push- upload your local commitsgit log --oneline- show short commit historygit branch- list local branchesgit switch <branch>- move to another branch
Example Session
git pullgit statusgit add src/library/drivetrain.cppgit commit -m "fix to drivetrain deadband"git pushMethod 3: Using Github Desktop
Note: I am using Debian 12 and don’t feel like installing windows to make this section. Github Desktop is useful so I am mentioning it here. Feel free to become a contributor and write this section!