An integrated development environment is a program for coding. Generally they supply a text editor and terminal to write and run code. Common editors include: Visual Studio Code, Visual Studio, Vim, NeoVim, and the various JetBrain software (PyCharm, CLion, etc). This article’s objective is to install and configure Visual Studio Code for vex.
1. Install Visual Studio Code to Your Device.
Follow the instructions on https://code.visualstudio.com/Download to download visual studio for your operating system. On Arch Linux run pacman -S code with elevated privileges to install VSCode.
2. Install Extensions for Vex
This tutorial will show you how to install the PROS library, Pros toolchain, and Pros CLI for vex. Other alternatives are Vex Code, Vexide, and Robot-C but they will not be covered in this tutorial.
Create a new profile:
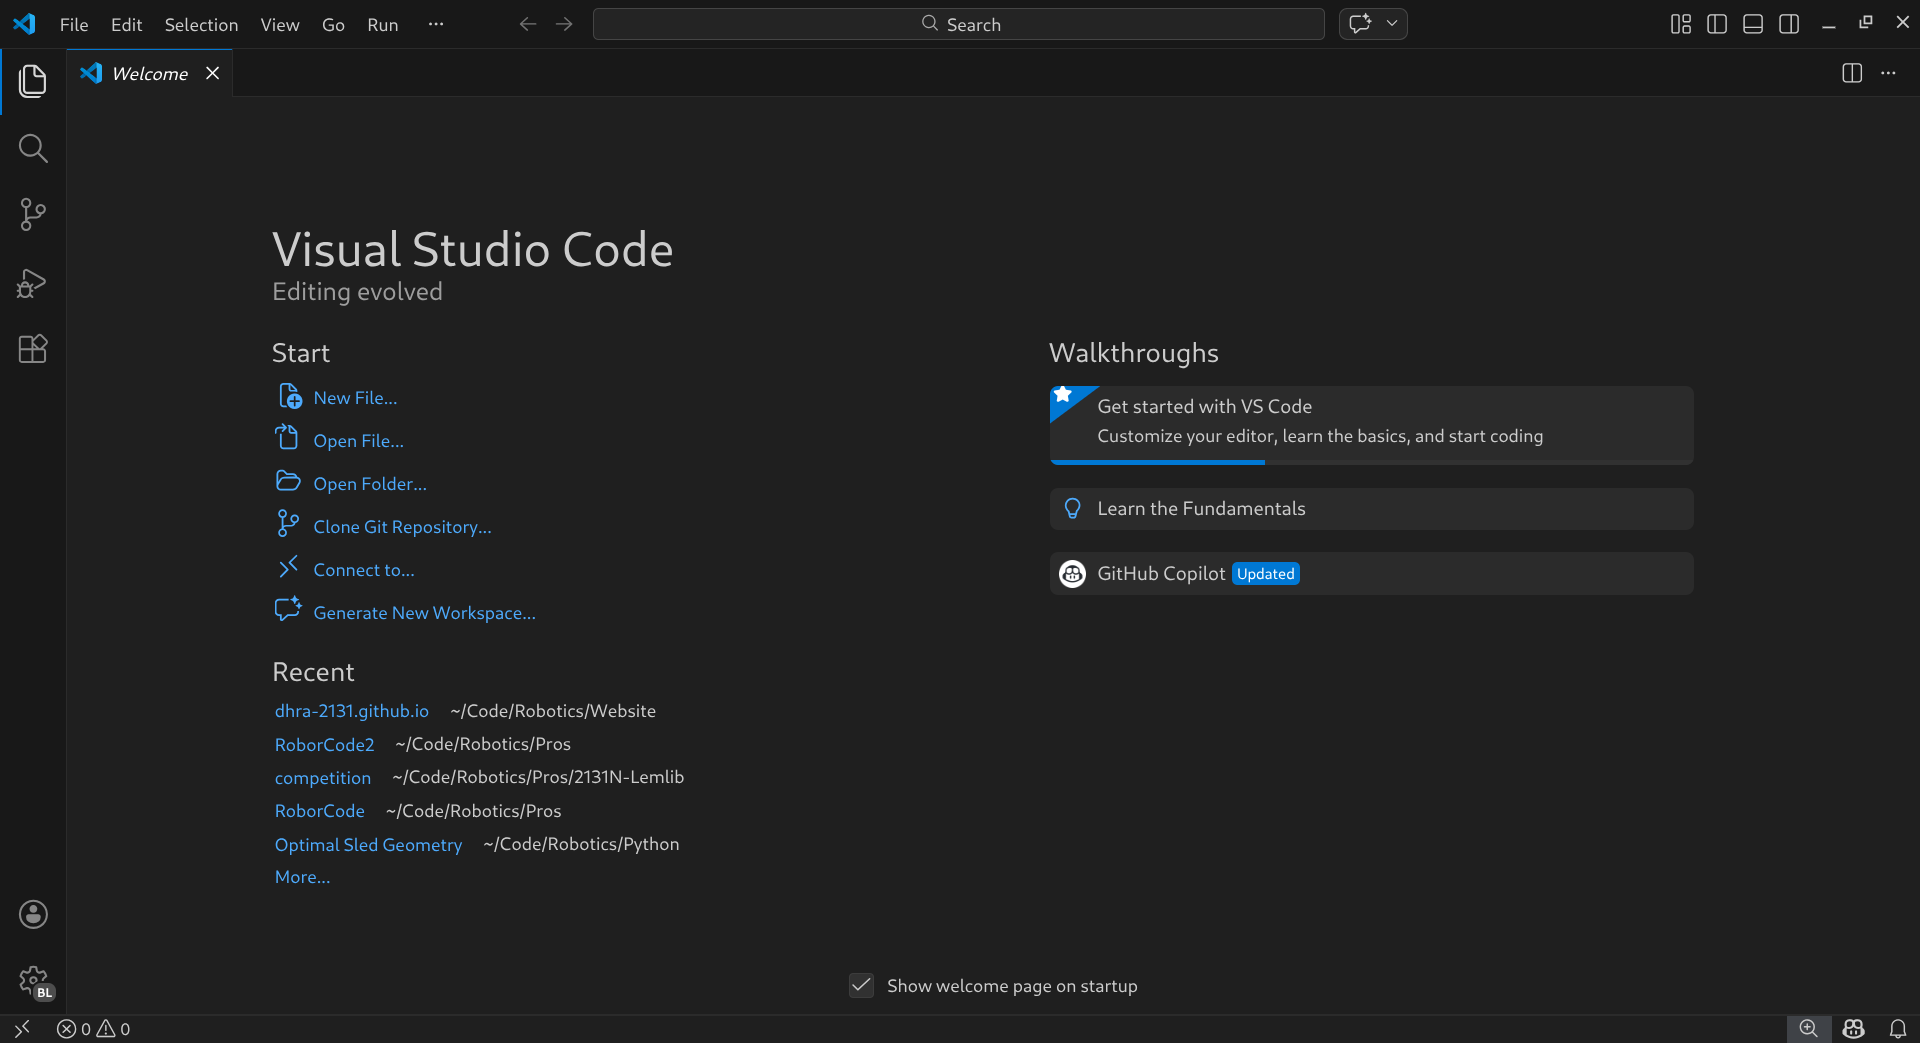
Upon launching VSCode you should see a blank workspace and profile.
Head to the settings (Gear symbol in the bottom left corner) and hover over the profiles option to select profile.
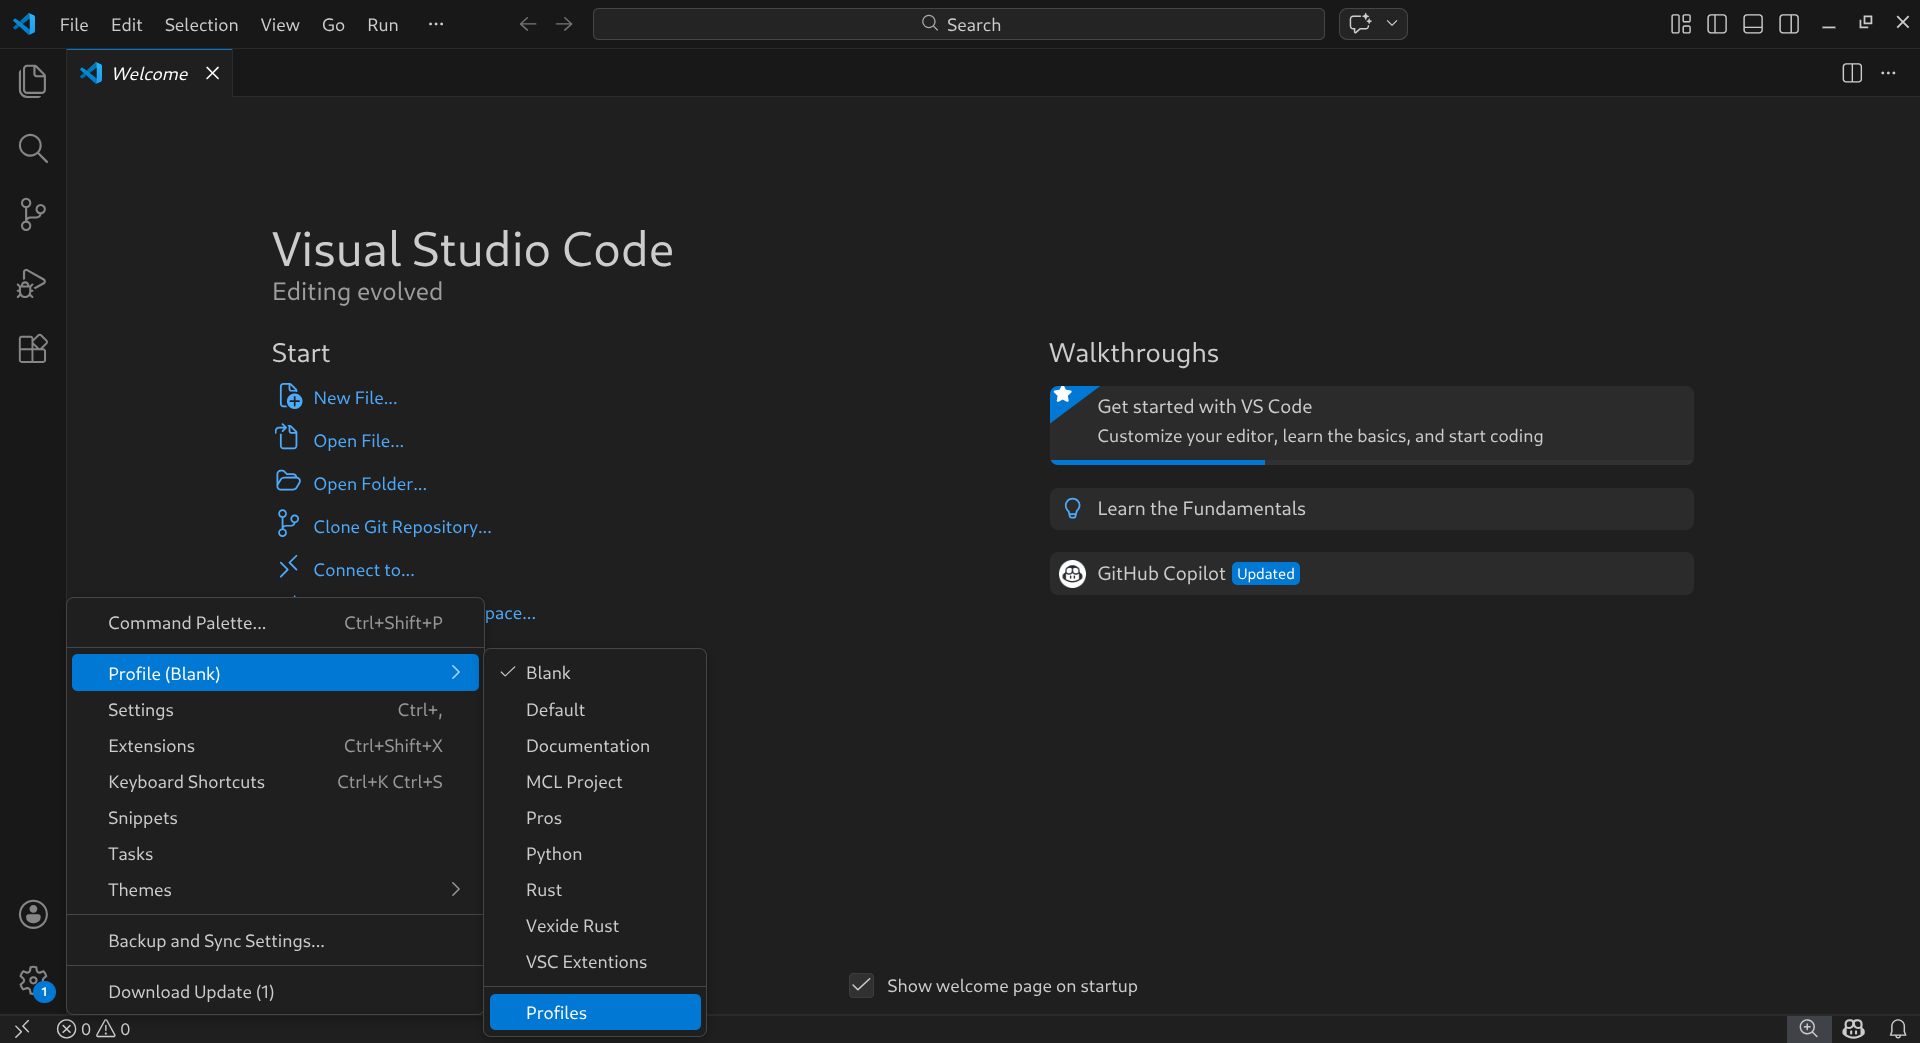
You should now see the option to create a new profile. Name the new profile Pros. Make sure to activate the profile, then you can close the tab (top left) or press ctrl + w.
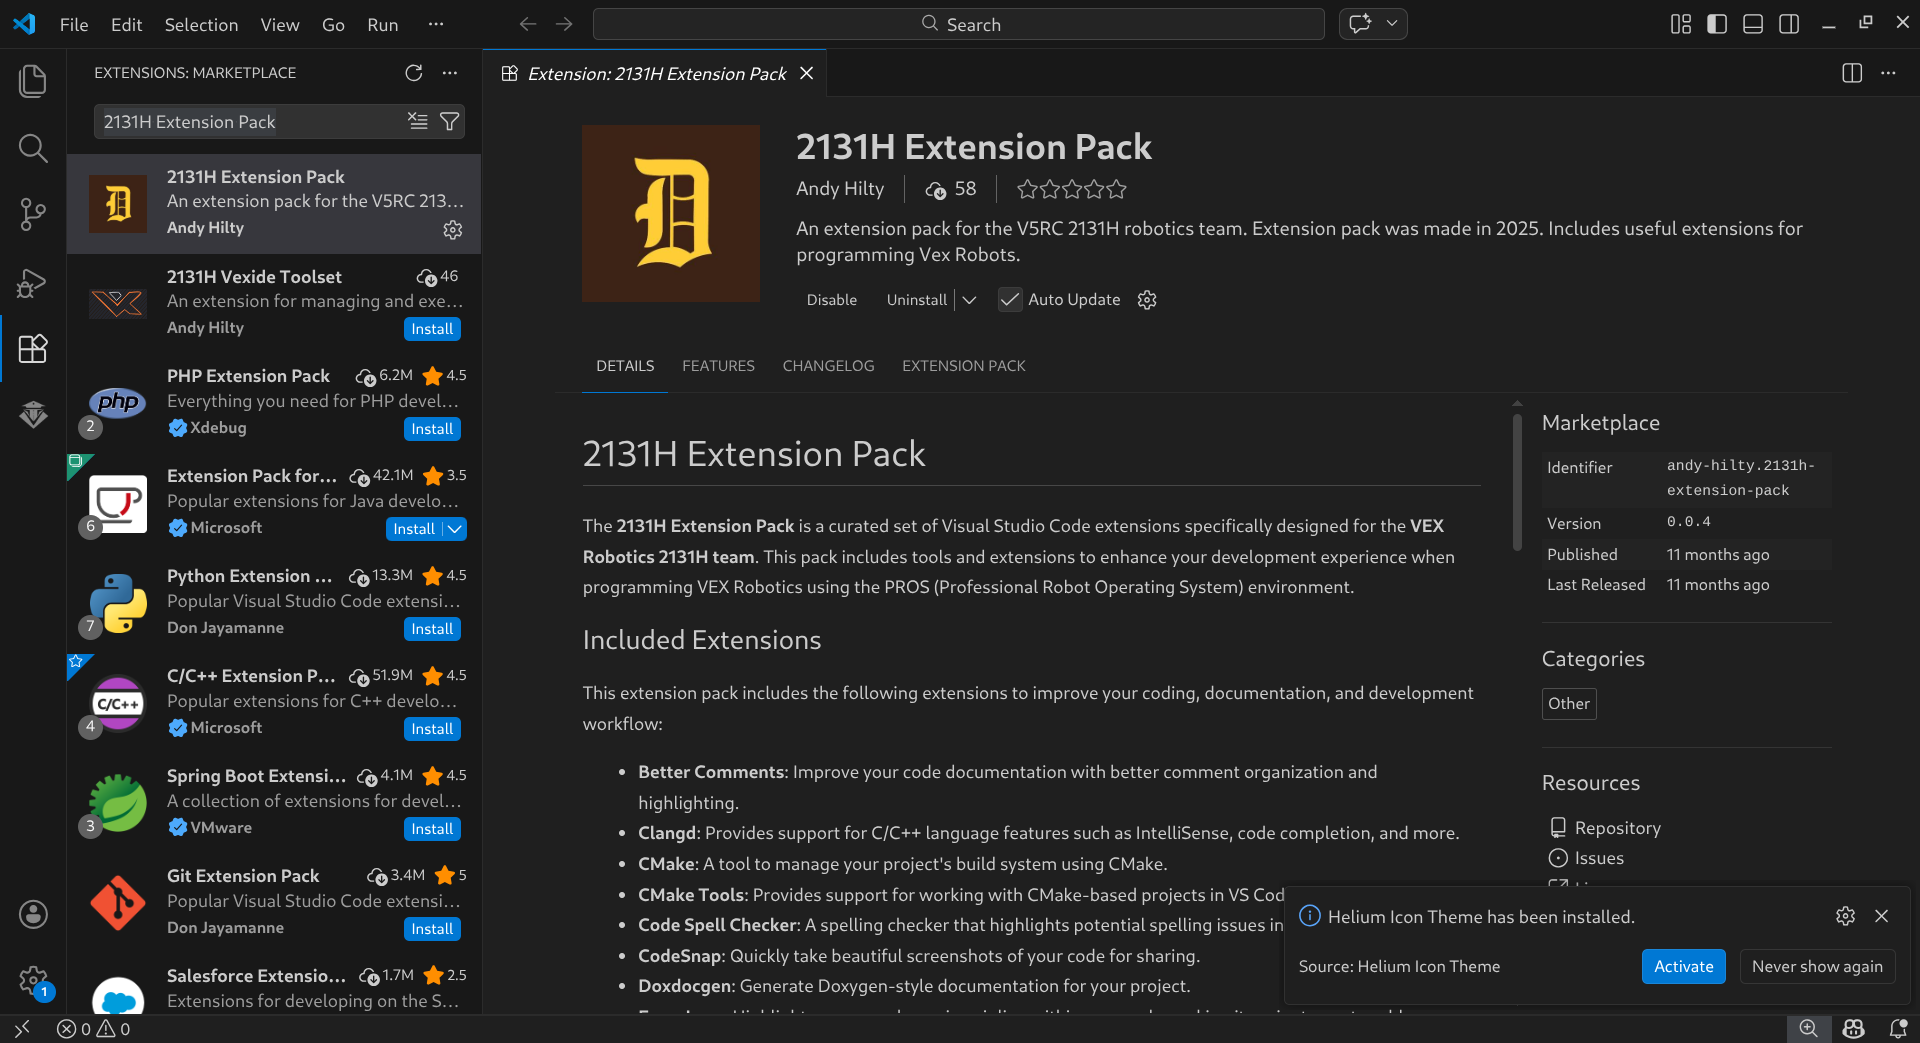
Installing the 2131H Extension Pack:
Click on the extension tab located in the farthest left ribbon (Looks like multiple squares mashed together). Search for 2131H Extension Pack and click install. This will install all the extensions required to download to a vex brain and program in C++. It will also install some extra themes and clangd.
Install Pros (Required)
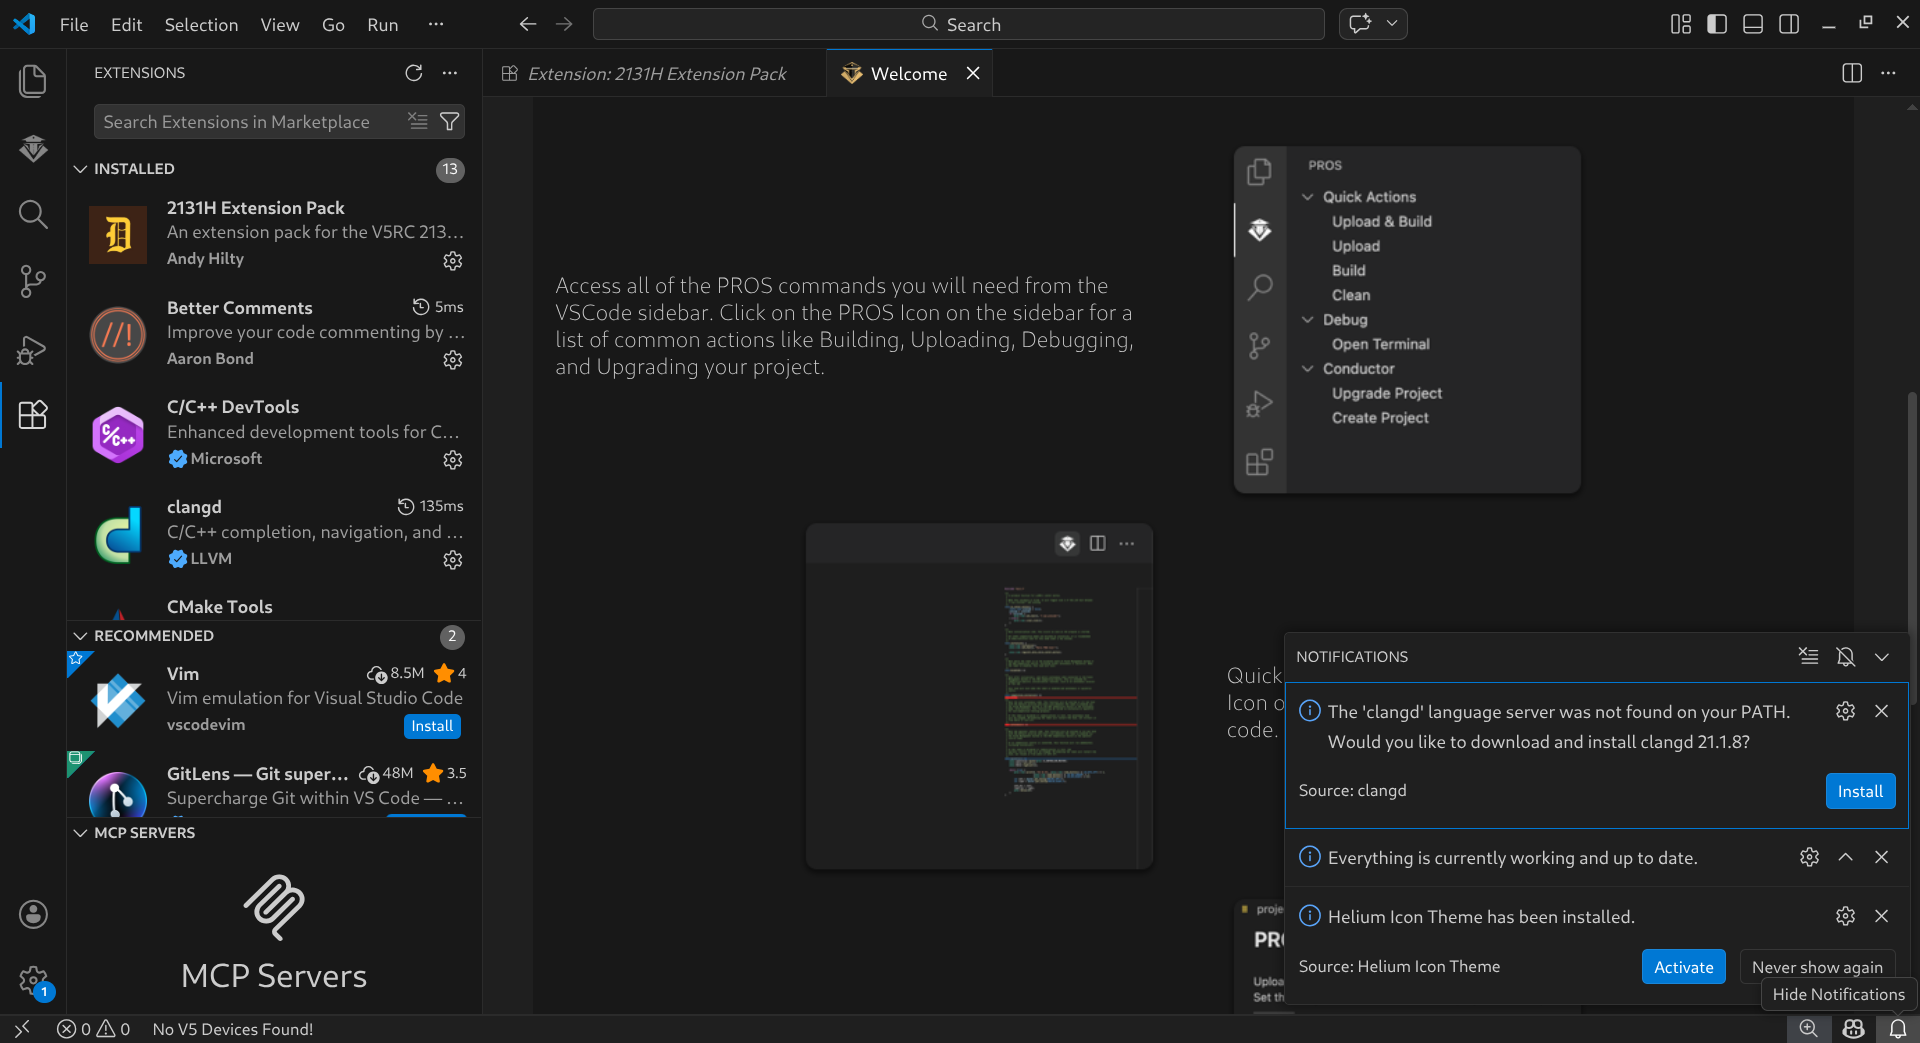
Press ctrl + shift + p and type: PROS: Verify PROS Installation. This will run pros verification function, which upon failing will prompt an installation. Alternatively, click on the Pros Icon in the left ribbon and click Manage Installations > Manage Pros then select Install PROS. This should start the installation of VexCom, Pros Toolchain, and Pros CLI. This is required for things to work.
Installing Clang (Optional, but Advised)
Press ctrl + shift + p to open the Command Pallet. This is one way of accessing different features of your installed extensions. Type: clangd: Download language server. This will prompt you to install clangd, which provides auto-complete, auto-formatting, linting, and error highlighting. For more information on how to use clang and fix clang, visit How to Fix Clang.
Install Git (Highly Suggested, Please Use Version Control  )
)
To use version control through Github, you need to install git. Visit here and follow the instructions for your operating system. To pull a repository from your Github to the current directory of the terminal use the command git clone <url>, this will make a local instance on your machine. On all common operating systems you can use cd <filepath> to change directory of the terminal. You can also use mkdir <directory name> to make a new directory for your repository to clone into. If you open this directory with visual studio code, then click on the source control icon (in the left ribbon) and it should open your repository.
3. Configuring the Extension:
Visual Studio Ricing (Making the Editor Pretty)
- Feel free to drag and drop the pros icon (The weird looking robot in the left ribbon) to below the explorer icon (the multiple file icon in the left ribbon). We will be using it a lot.
- Press
ctrl + shift + pto open the Command Pallet. TypeHelium Icons: Activate icon Theme. This will apply the helium icons (Icons showed here). - Press
ctrl + kthenctrl + tto change the theme. You can change this to any installed theme. Suggested: Github Dark, Atom One Dark, or really anything but light mode .
.
Not an Ad: Want to write a section for installing the VexCode Extension? Do you want to make the code blocks on this website use FiraCode? Consider contributing to give back to your community! 